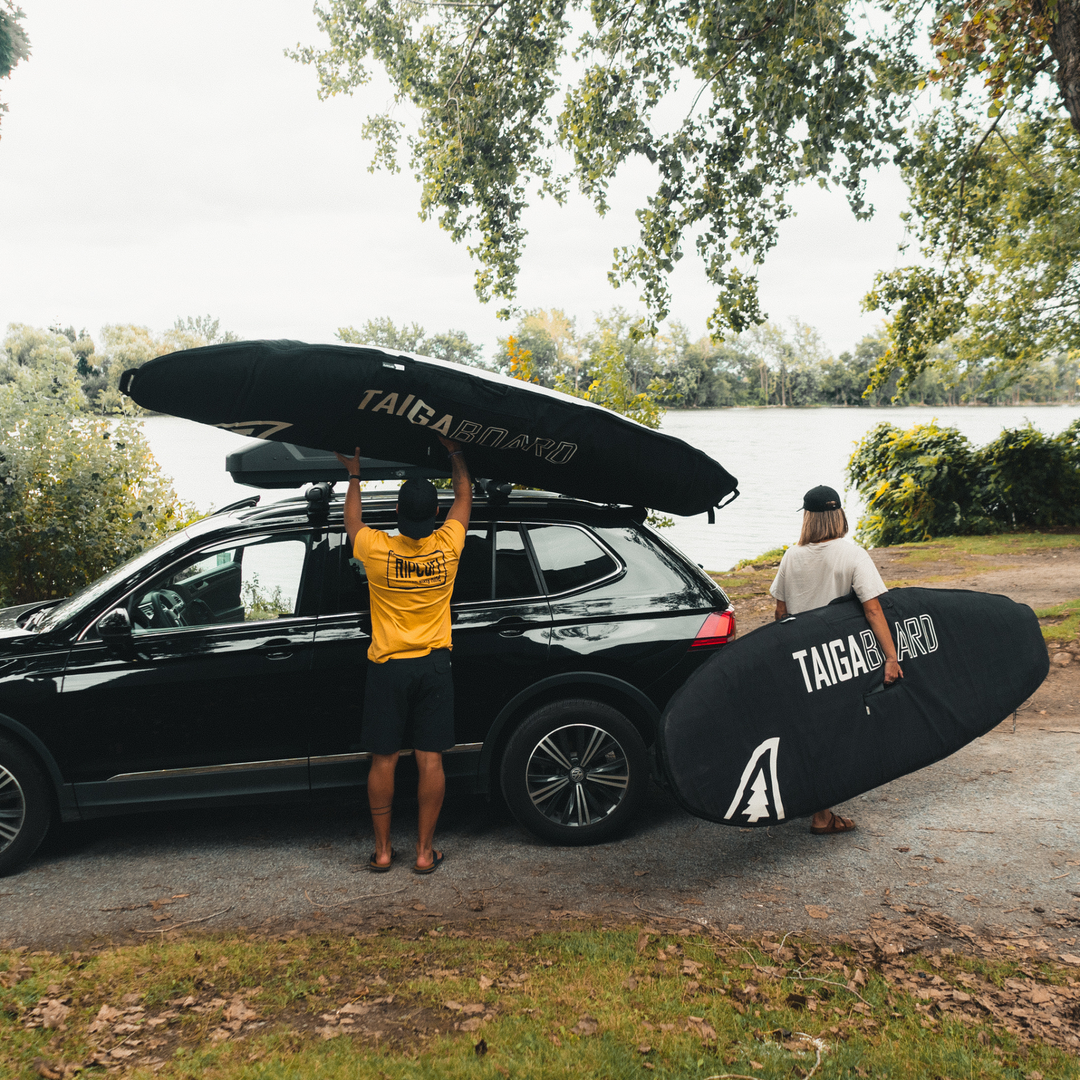
Transporting Hard Boards with a Roof Box: The Complete Guide

by Matilde Brossard

Transporting hard boards (SUP, surf, etc.) on a car roof is already a challenge in itself…

and adding a roof box into the mix can quickly become a real puzzle. However, with the right equipment and a few clever tricks, it’s not only possible but also practical and safe. 

Here’s a step-by-step guide to achieve this setup — tried, tested, and proven over many trips. 

1. Choose the Right Roof Bars 

The key to this setup is having bars that are long enough to accommodate both the roof box and the boards, while still leaving space for handling and securing gear.

Measurements to take: 

  • Maximum board width (including board bags) 
  • Roof box width 
  • Extra clearance for straps and handling 

Recommendation:

Thule ProBars are an excellent choice. Available in 69" and 78", they offer a high load capacity and generous width to combine multiple pieces of equipment on a single vehicle. 

Tip:

Always allow a few extra inches to avoid surprises when loading. 

2. Offset the Roof Box 

The optimal configuration is to offset the roof box slightly to one side of the crossbars.

  • This frees up the opposite side for the boards. 
  • The space between the two allows the roof box to open easily, even when the boards are loaded. 

Tip: With long Thule bars, it’s possible to offset the box while maintaining excellent stability thanks to the sturdy roof rack feet.

3. Use Proper Protective Pads 

To protect both the boards and the bars, roof rack pads are essential. 

  • The pads should follow the same offset as the boards. 
  • If the roof box mounts interfere, a small, clean cut in the pad can allow it to fit perfectly around the brackets. 

Tip: High-quality roof rack pads, such as the ones we offer at TAIGA, provide better durability and grip. 

4. Prepare the Straps in Advance

With a roof box installed, it’s often difficult to access the opposite side of the vehicle to pass straps over the load. 

  • Pass the straps before placing the boards. 
  • Load the boards, then bring the straps over the top and tighten from the accessible side. 

Tip: High-quality tie-down straps, like those offered by TAIGA, ensure a secure and reliable hold without compromising the integrity of your equipment.

5. Pre-Departure Checks

Before setting off, make sure: 

  • The roof box is securely locked and firmly attached to the bars. 
  • The boards are stable and do not slide or vibrate when moved slightly. 
  • The straps are tight but not overly compressed, which could damage the boards. 
  • Strap ends are rolled up and secured to prevent flapping in the wind. 

Benefits of This Setup 

This configuration maximizes space by keeping the trunk clear while allowing full access to the roof box, enables the transport of multiple hard boards without compromising storage, and ensures that all equipment remains secure over long distances — made for a practical, comfortable, and safe travel experience.